 |
Ian Robinson - Bespoke Gems |
|---|---|
| Precision Cut in the UK |
Cutting two Sapphires?
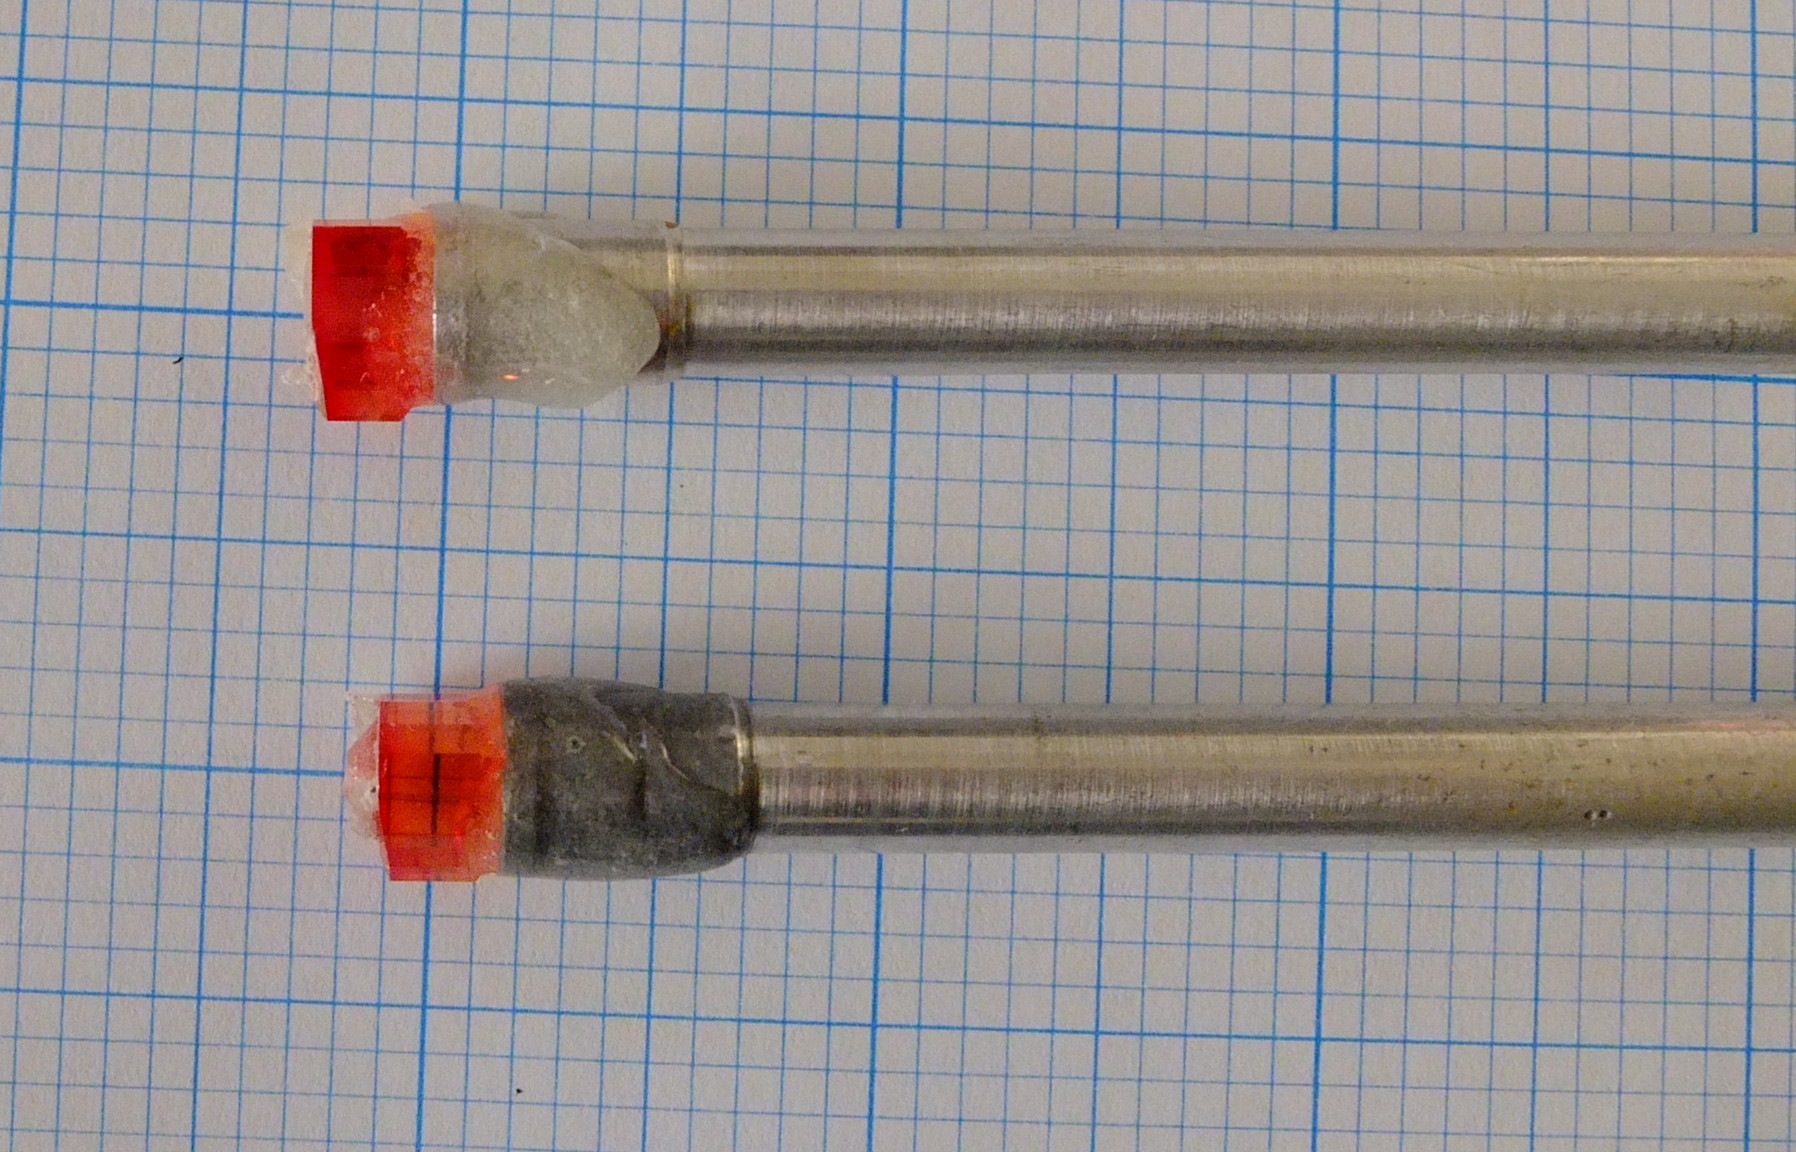
1: Mounting the Rough

The two pieces of rough lab grown sapphire are glued to dop sticks with epoxy resin. Shown are two Polymetric dop transfer Jigs - highly recommended!
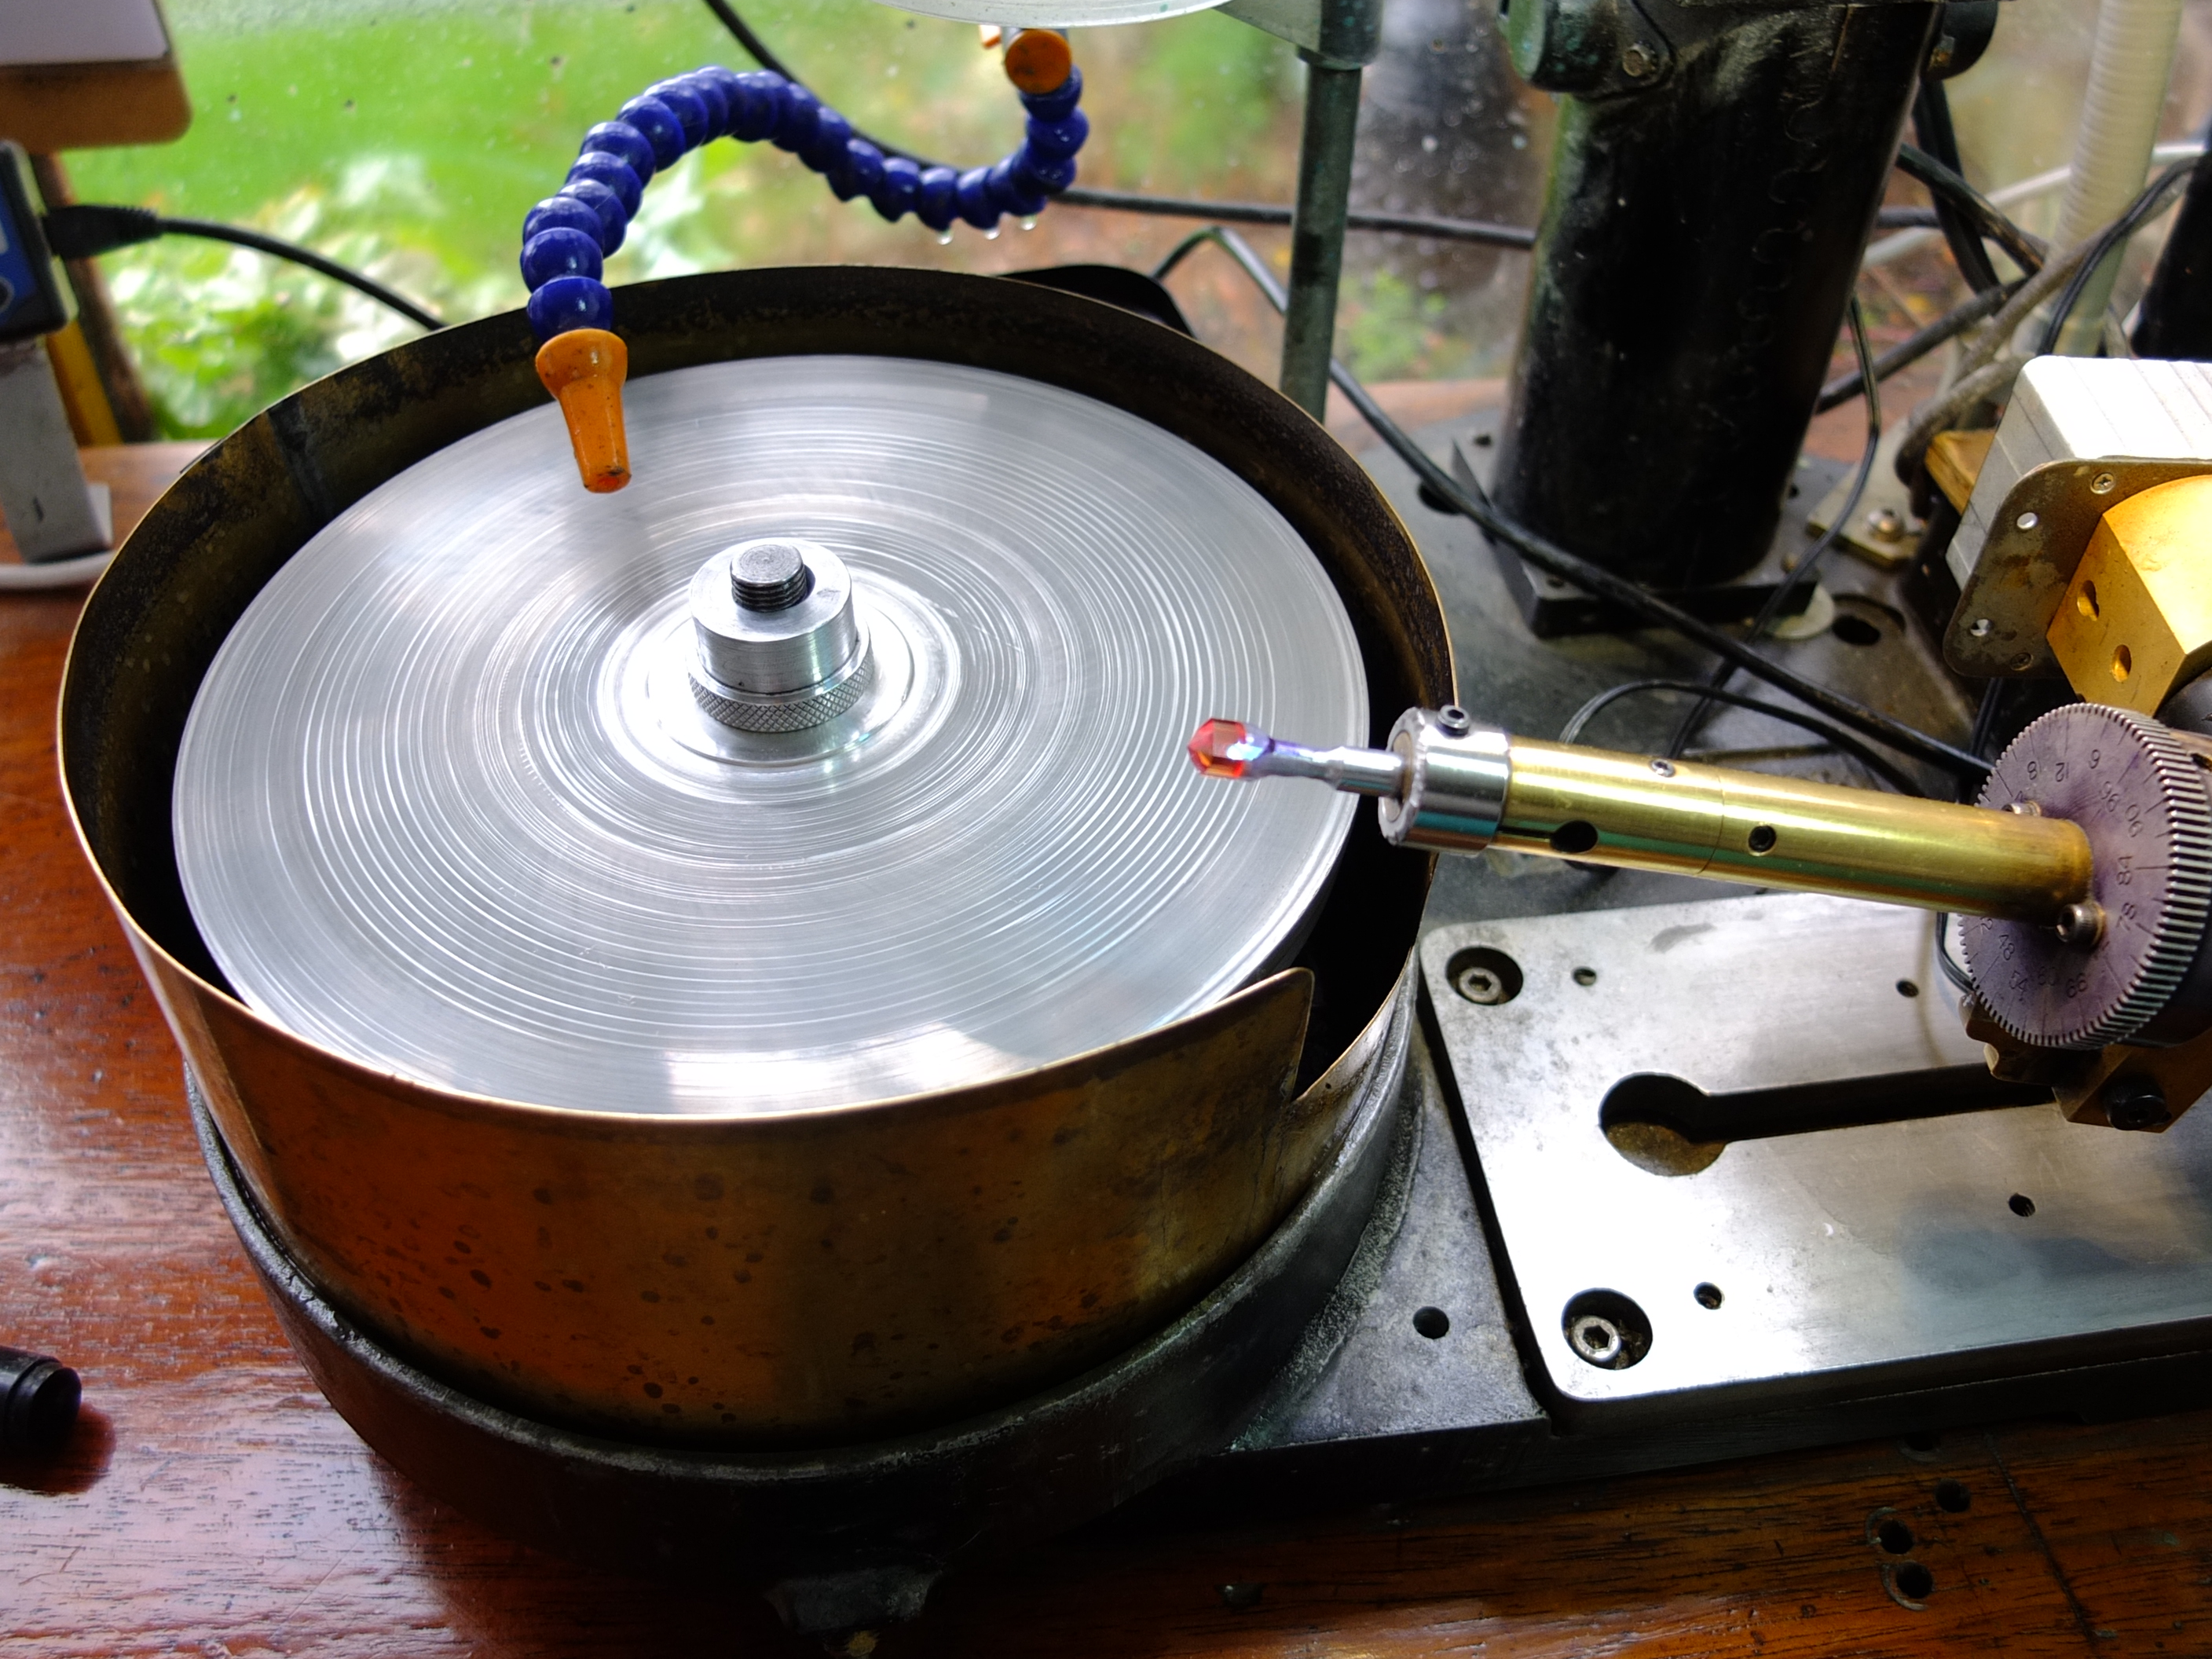
2: The Faceter

This is a much modified American made Polyhedron/Polymetric Faceter, similar to their Scintillator 88 model. It has been retrofitted with an optical angle measuring system, a Beale/Whoolley depth of cut indicator - and an ugly, though effective brass splash pan.
3: Rough Forming

The stone is first roughly shaped with a course grit. Opinions vary on the best lap sequence with some preferring to rough at ~50µ (300 grit), followed by fine-cutting at ~15µ (1200) then pre-polish at #7-3µ (3000-8000). With sapphire I prefer to fully form at 25µ then pre-polish at 3µ. I find the slower cutting suits me.
Shown is a copper lap loaded with 25µ diamond grit, this rotates at about 100rpm whilst the stone is gently swept across the surface. (note: 1µ is one millionth of a metre)

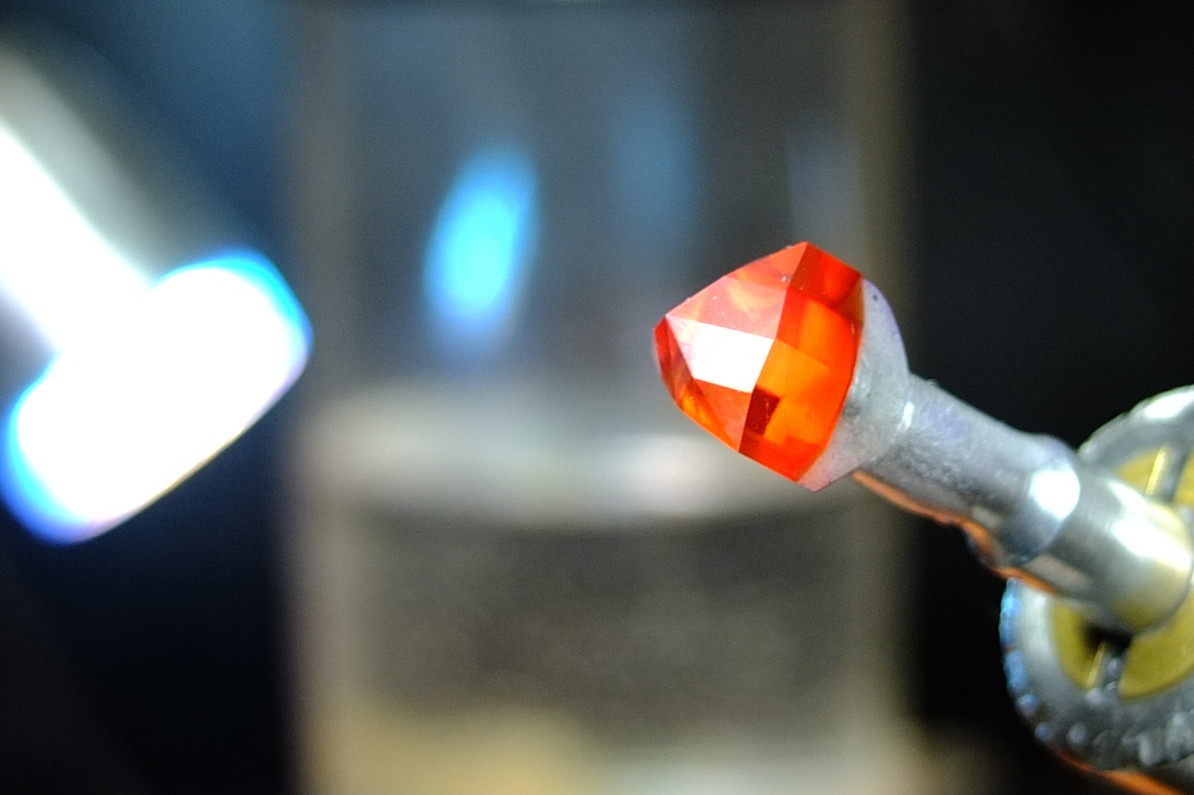
About an hour later the stone is taking shape. The rough outline is formed and about half of the facets on the pavilion (bottom) have been cut. Note the frosted appearance. Light striking the surface 'sees' the stratches from the 25µ grit since the light's wavelength is much smaller at ~ 0.5µ. We need to remove these scratches in the next two stages - however there is still a couple of hours work left at the coarse grit.
4: Pre-Polish
Pre-polishing is very fine cutting and this is where I spend the bulk of my time. I prefer to pre-polish sapphire using 3µ diamond on a Batt lap. The Batt is a very hard tin-zinc alloy lap which prevents the edges of facets rounding - which is bad -- flatter facets and crisper edges are good.
During pre-polish the smallest facets may be cut and the meetpoints - where facets touch can be precisely aligned. The surfaces now look polished, 3 micron scratching is well below the resolution of the eye even with a powerful magnifier. Unfortunately many commercial stones are left at this point. They will not be as bright as stones which are polished further.
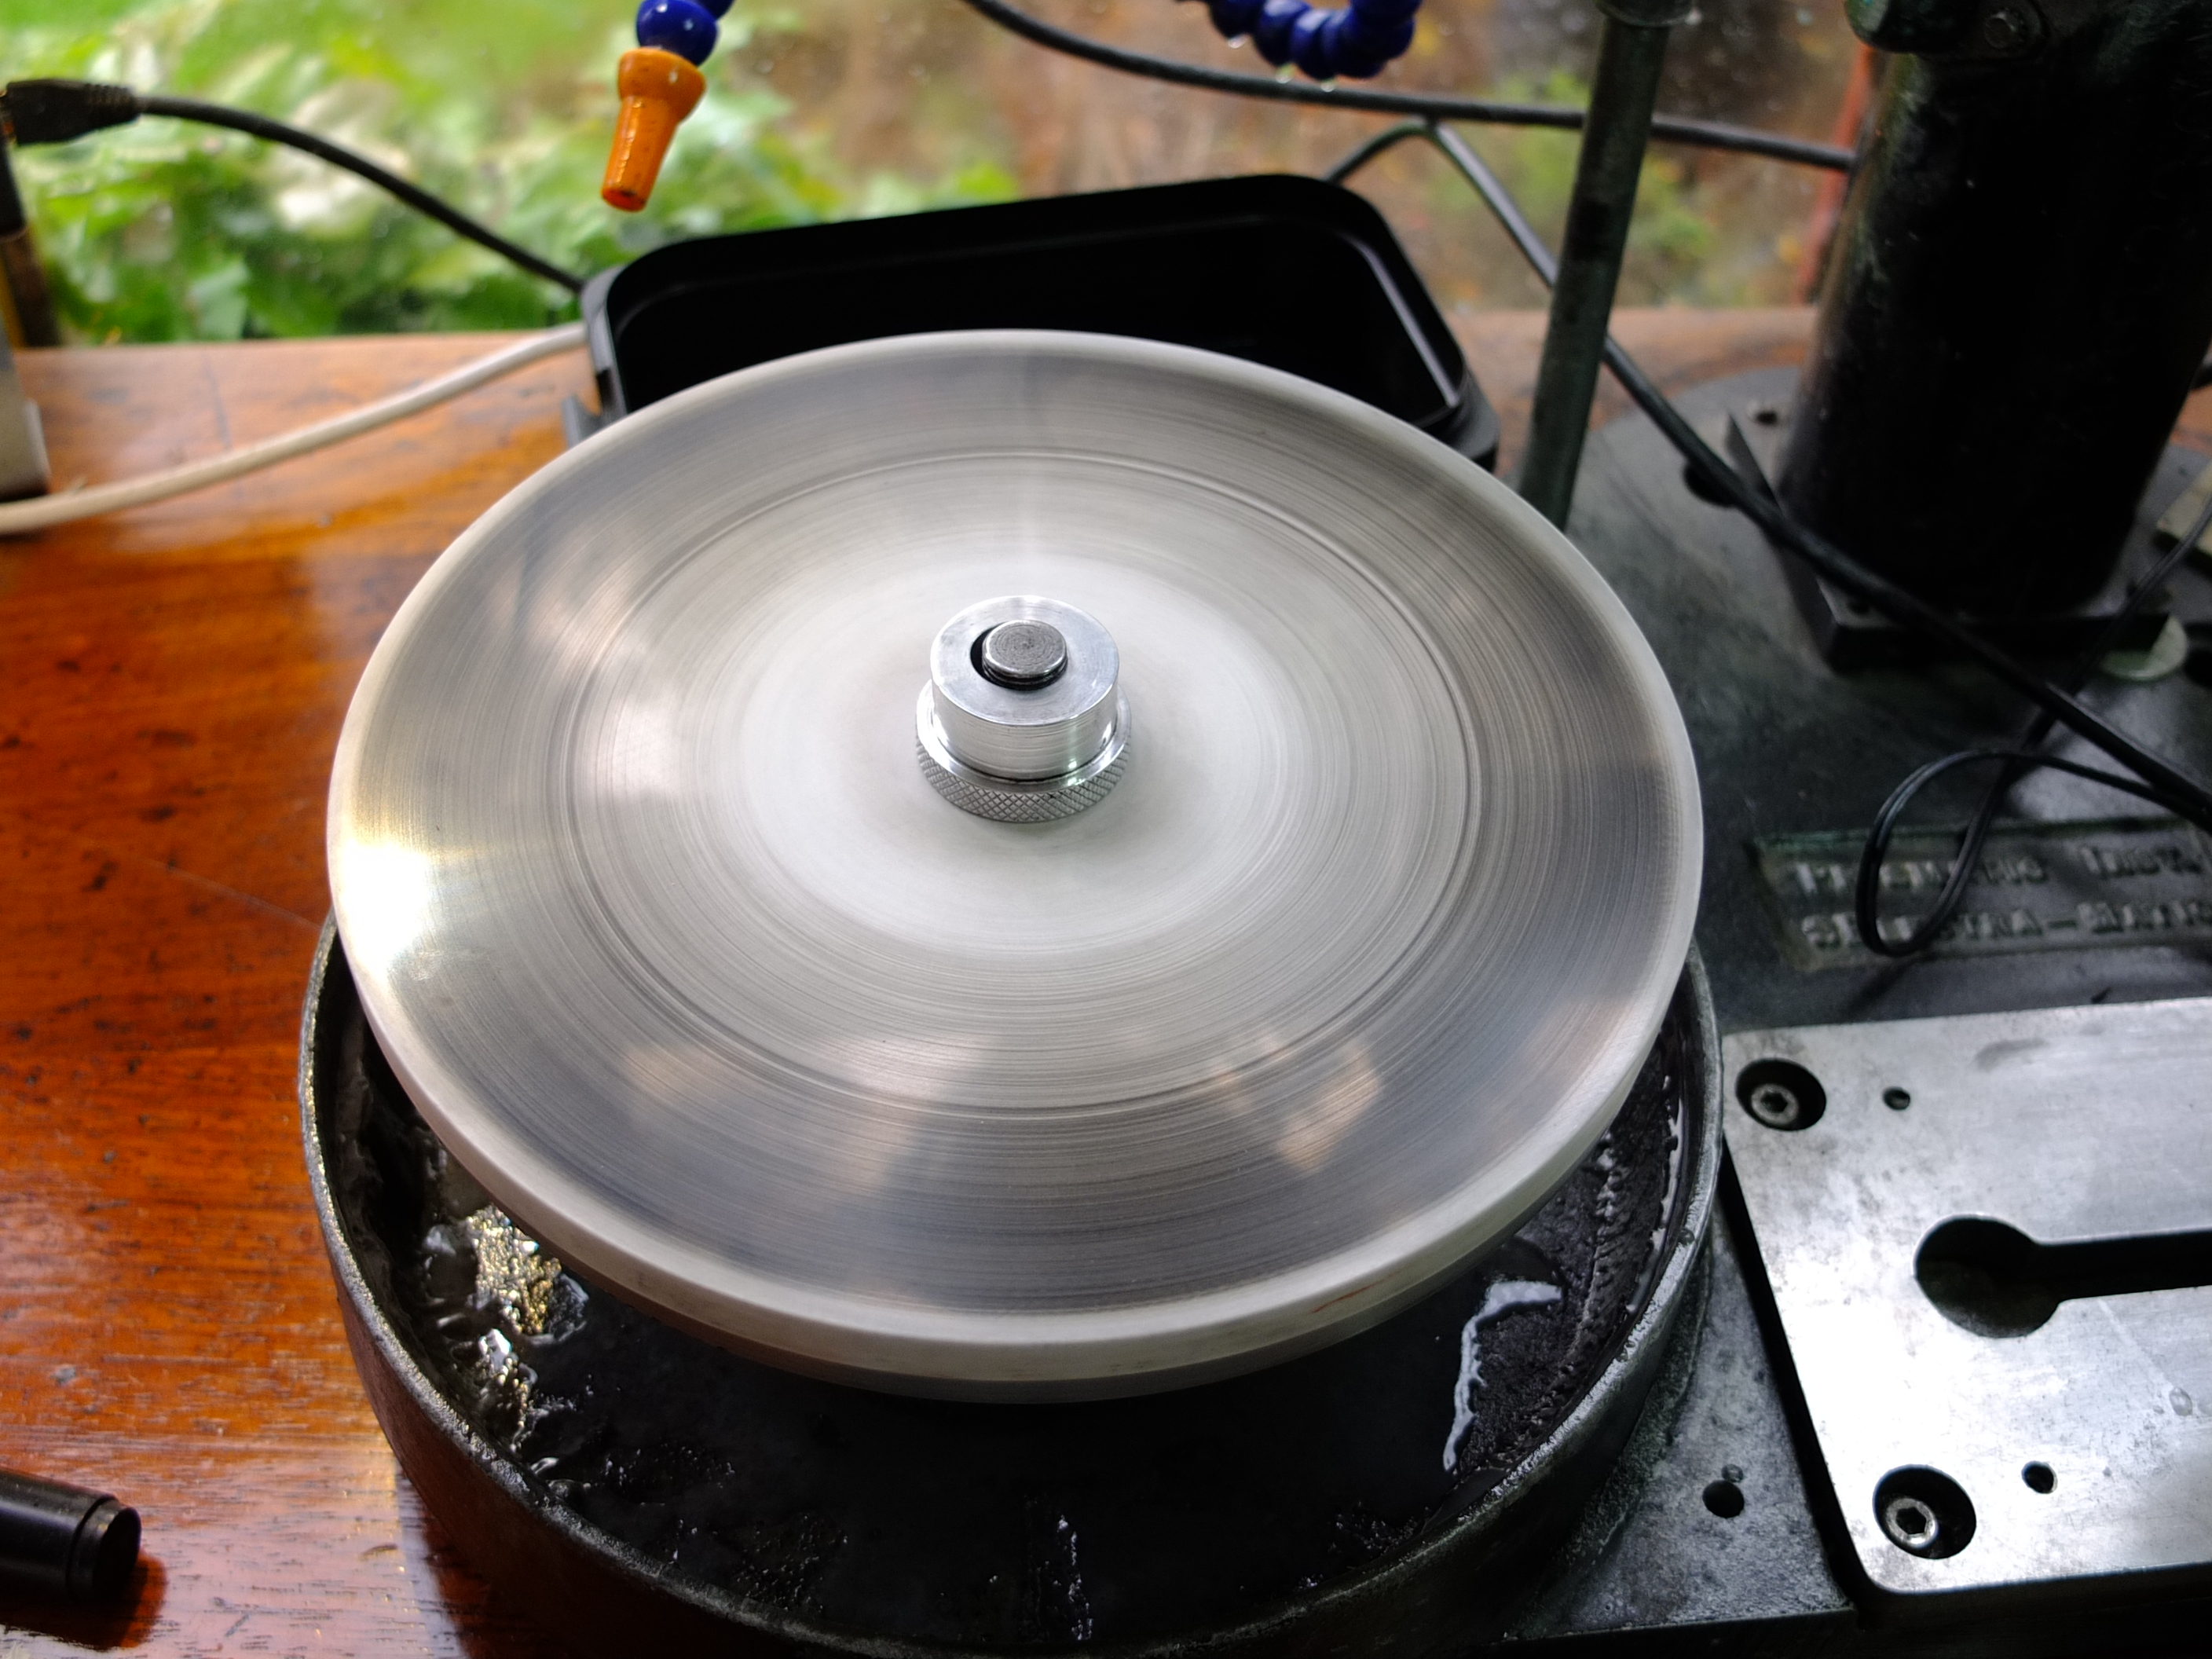
5: Polishing
Well, we are about 5 hours in and its time for the final polish. If we have pre-polished well this may only take an hour -- unless something goes wrong. On sapphire I use 1/4µ diamond grit - effectively the finest grade available. This is smaller than the wavelength of visible light meaning that incoming light waves diffract around these very fine scratches - ignoring them (the physicist in me thinks Rayleigh Criterion here).
What type of lap to use? Again opinions vary, some prefer the relatively soft typemetal (lead-tin alloy), some tin-zinc such as the Batt (need another - cannot use the 3µ one). From Gearloose - the maker of Batt we have the excellent Darkside - a weird hard polymer. I prefer ceramic laps, they are the hardest laps made which produce the flattest facets - however ceramics are temperamental. Occasionally they will not play with some stones in which case I use a Darkside or Batt at 1/4µ
'The Beast' a ceramic polishing lap, as hard as sapphire - occasionally loved - frequently sworn at and sometime threatened with recycling as a very, very expensive Pizza base
6: Pavilion Done
If all has gone well at 5-7 hours in we have completed cutting and polishing the pavilion - the bottom of the stone. The crown, the top should be a little faster. So far we have cut 30 facets, each required at least 3 different laps - a total of 90 indivdual steps. The stone is continually being examined - despite all the dials and readouts ultimately the eye is better than the machine. Not shown above is a swing mounted illuminated medical magnifier for the course cut. The pre-polish and polish are examined using a high-power monocle.
Hang-on, why put more effort into the bottom which is usually obscured by the setting? Surely only the crown is seen. A quick pavilion forming and polish to 3µ should only take a couple of hours.
You may recall 'critical angles and total internal reflection' from school physics. The bottom of the stone should act as a near perfect mirror if the angles and polish are correct - this will make for a much brighter more lively stone. Optically the pavilion is much more important than the crown. Many commercially cut stones however have appallingly cut pavilions, poorly polished with incorrect angles that dump light out of the bottom. Commercial cutters are paid, poorly, by weight. They are skilled artisans however the economics often dictate weight over quality - so non-optimum angles are chosen. Precision cutters will never do this. We are wierdly obsessive types hence the time and care expended to make a pretty rock very pretty.
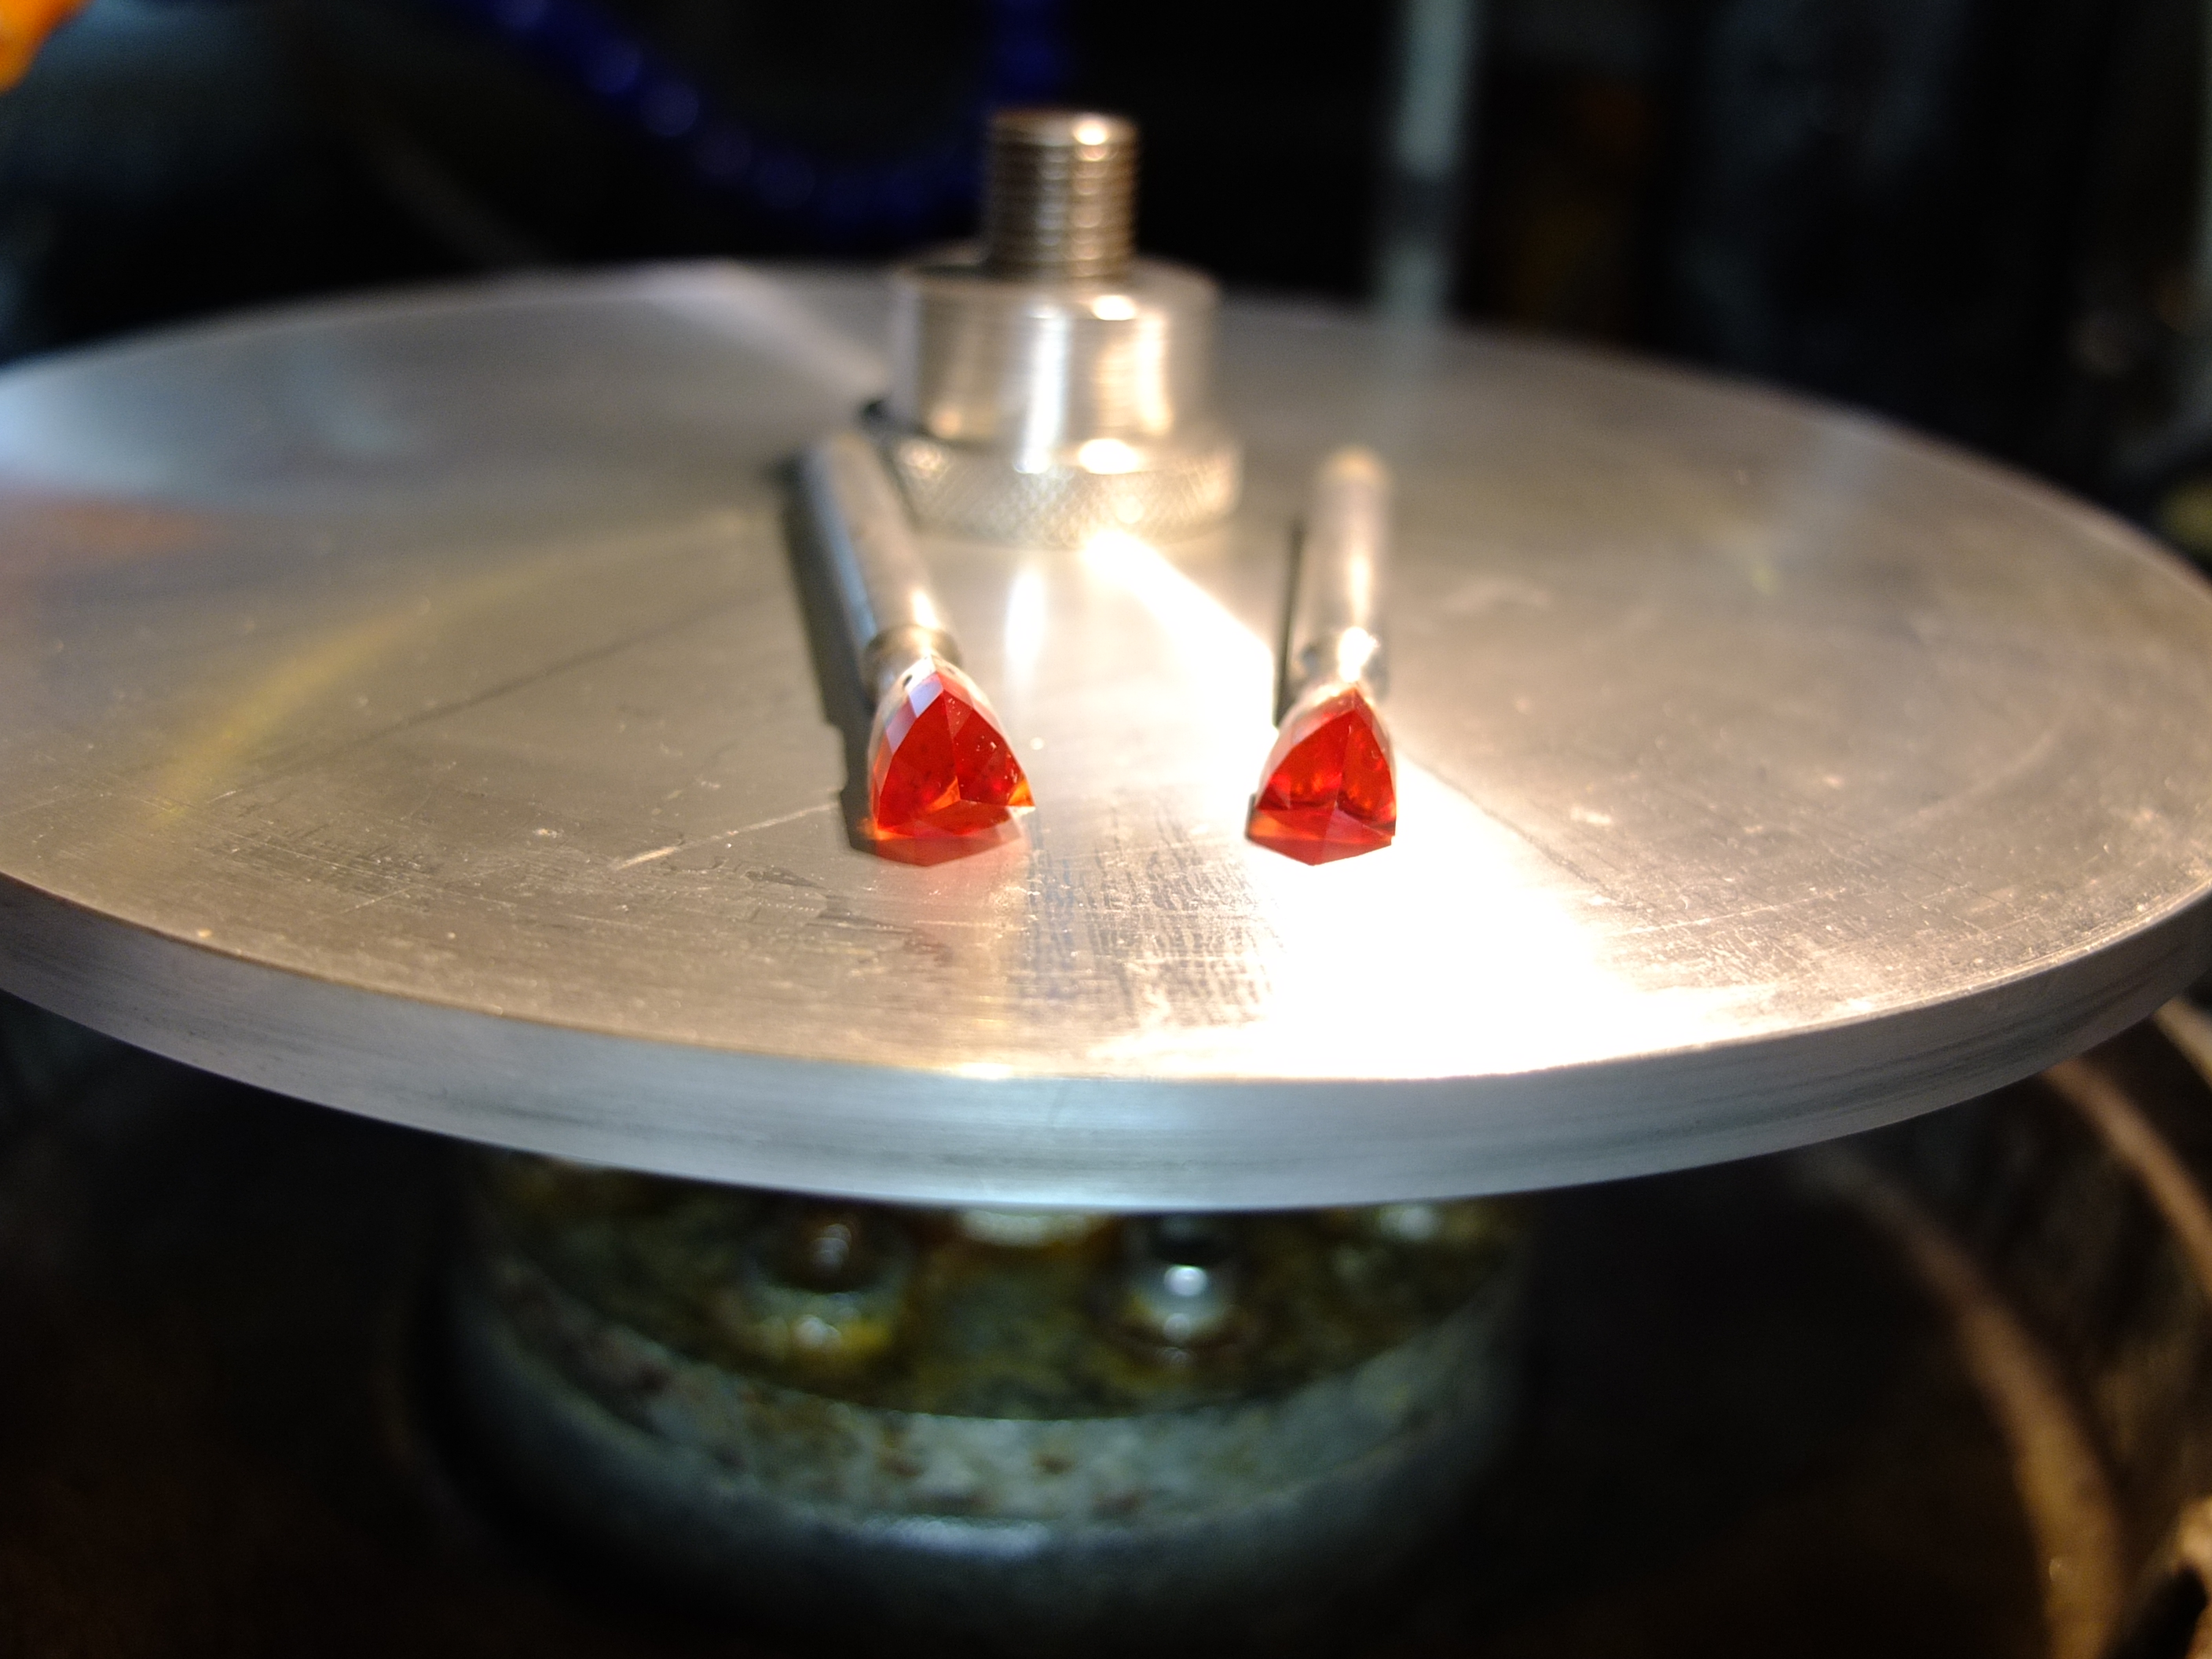
I actually cut two - so double the times above (note: the stones where not properly cleaned and degreased before this snap was taken)
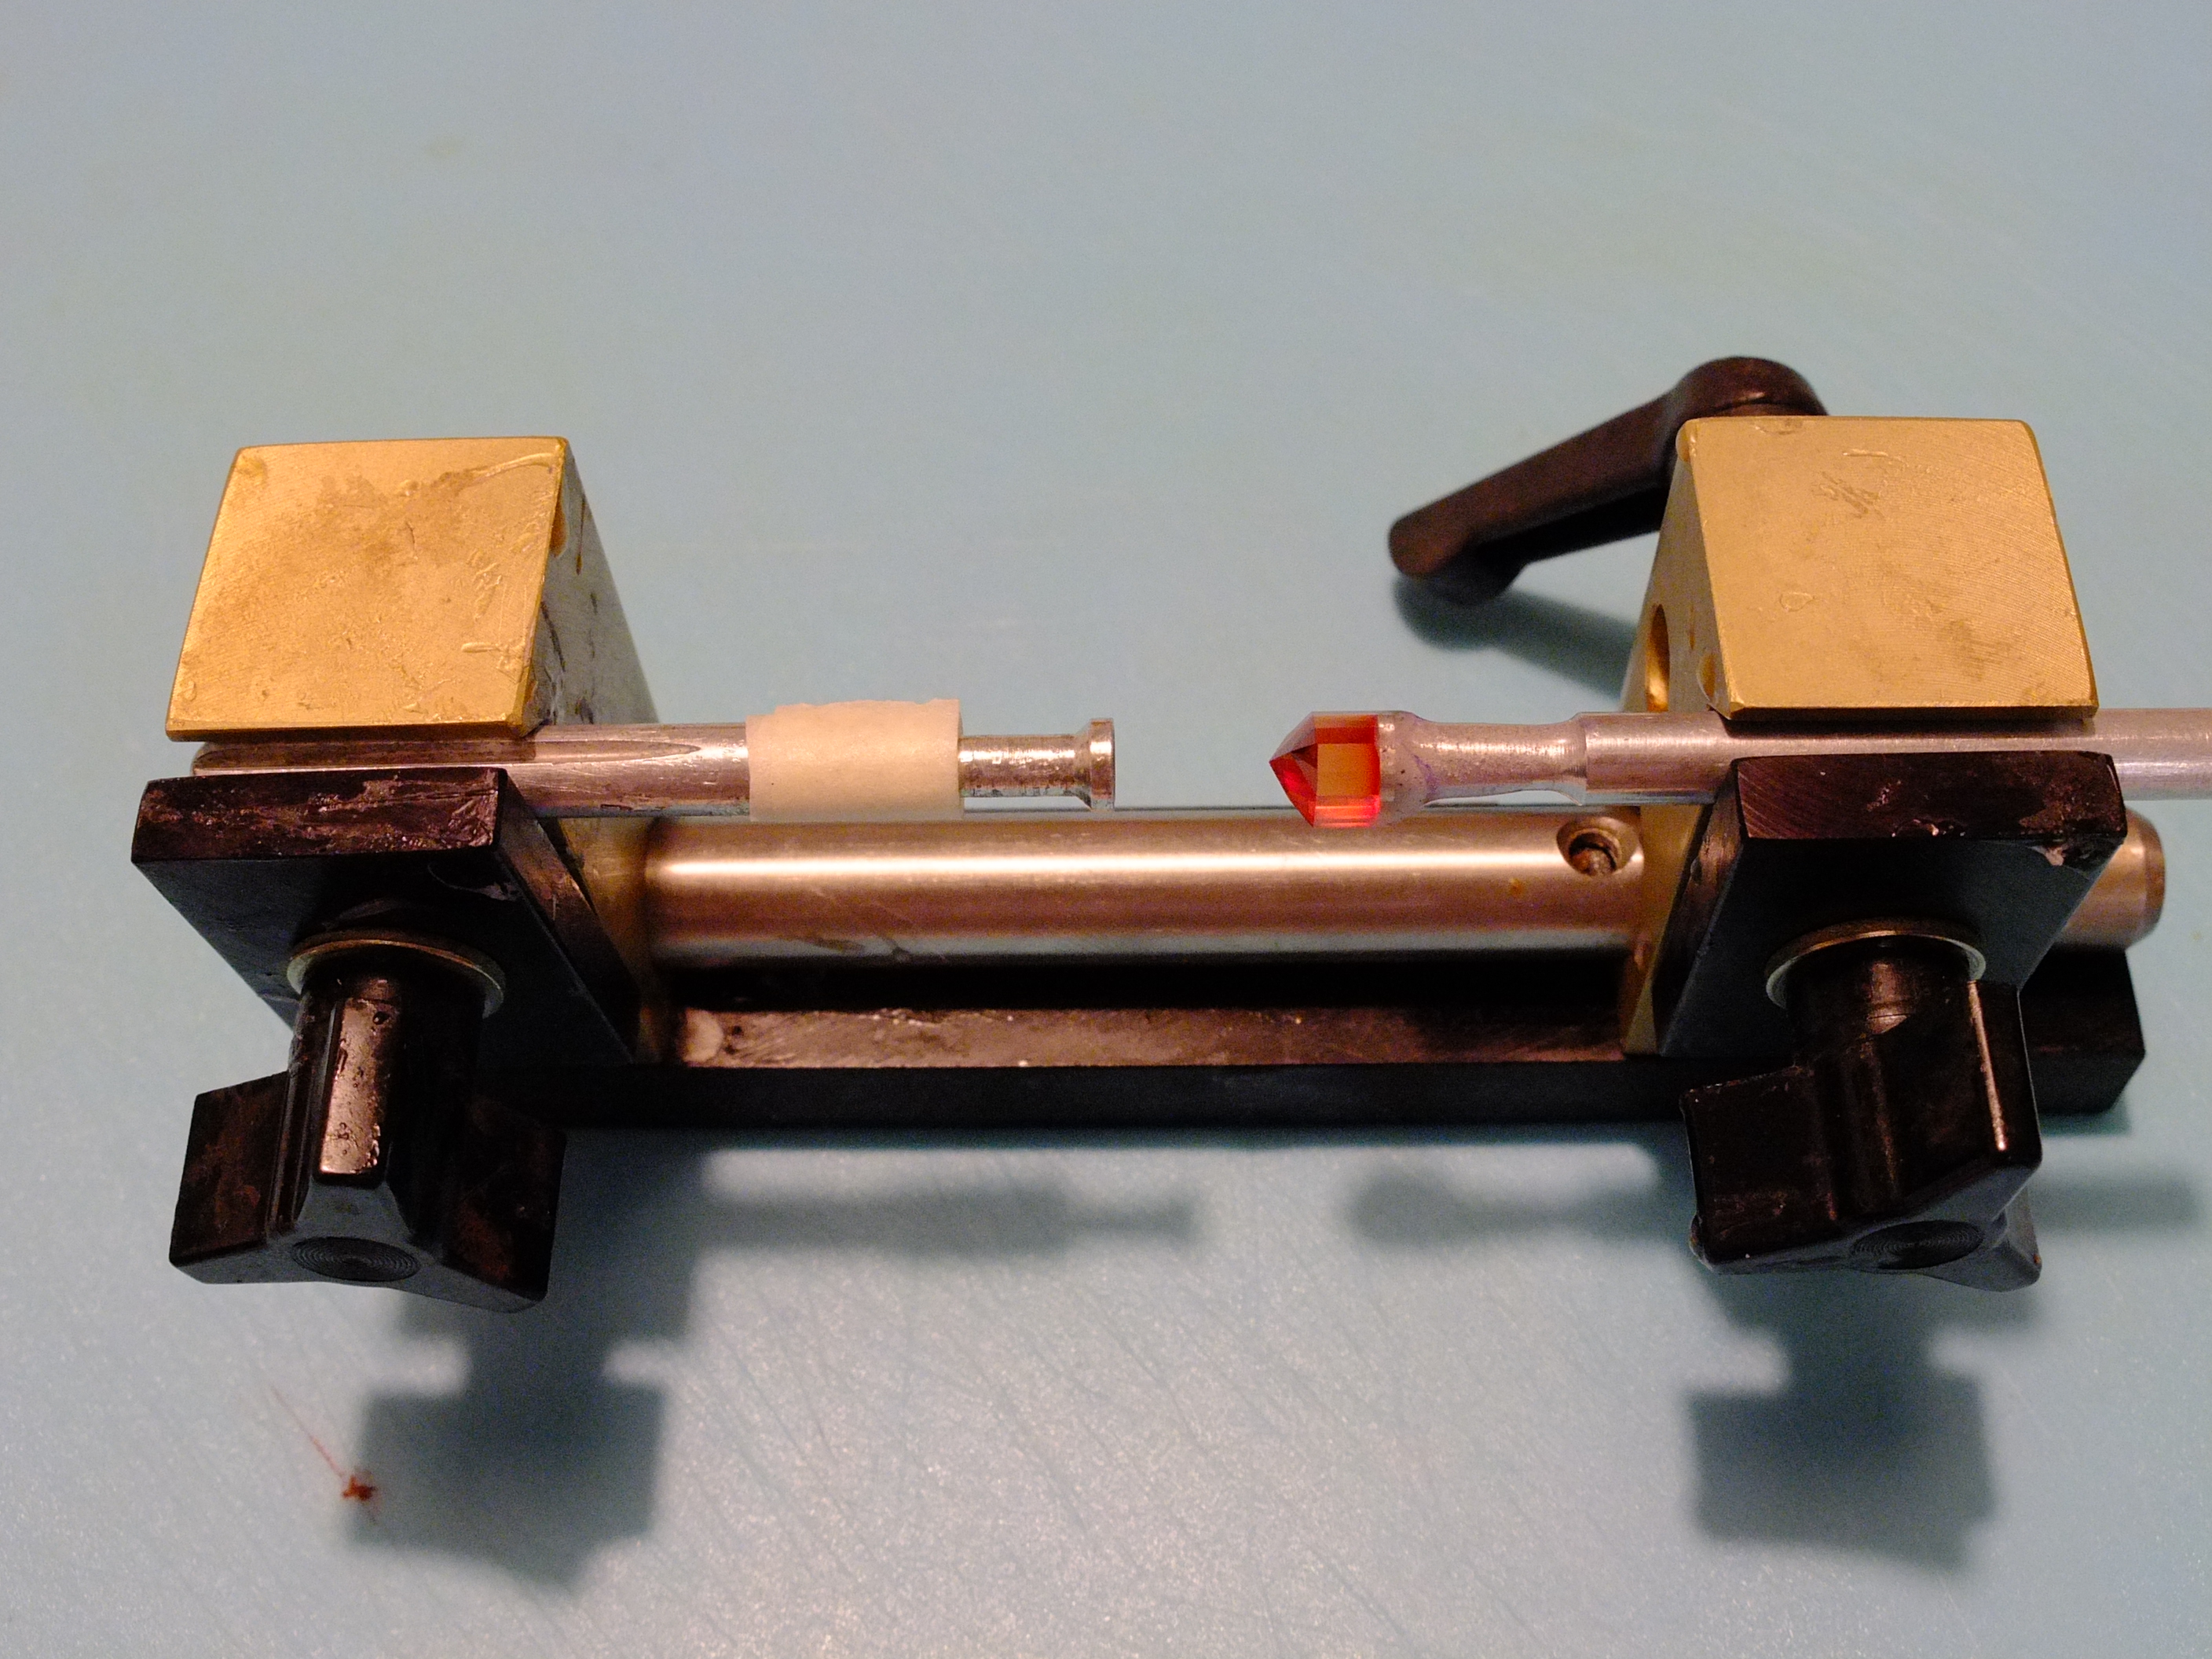
7: Transfer
Now we have to attached the stone by the completed pavillion of a new dop stick before debonding the old dop using heat. Keeping alignment as accurate as possible is critical using a 'dop transfer jig'. I prefer to dop with epoxy rather than the other popular opinions of wax or cyanoacrylate. I find using industrial 5 min epoxy cured for 24 hours works well.
8: Cutting and polishing the crown
We repeat the cutting and polishing with the crown facets. This is usually a little quicker than the pavilion though dealing with the inevitable misalignment can be timeconsuming requiring finessing of the design.

9: Two precision Cut Sapphires